CCTV systems are essential for security, but to ensure continuous recording and playback, you need a properly installed and formatted hard disk in your DVR (Digital Video Recorder). This guide will walk you through the process of preparing your hard disk for use in a CCTV DVR.
1. Choose the Right Hard Disk
Selecting the correct hard drive is crucial for smooth and reliable performance. Here are some key factors to consider:
- Surveillance-Grade HDD: Always opt for a surveillance-optimized hard drive such as WD Purple or Seagate SkyHawk. These are designed for 24/7 operation.
- Capacity: Depending on your recording needs, choose a hard disk with at least 500GB to 2TB+ storage.
- DVR Compatibility: Ensure that the hard disk is SATA-compatible and supported by your DVR model.
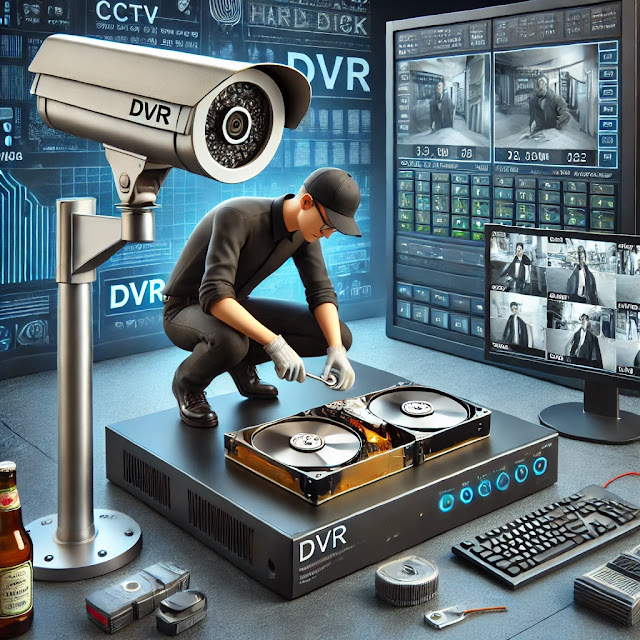
2. Install the Hard Disk into the DVR
Once you have the right HDD, follow these steps to install it inside the DVR:
- Power off the DVR and unplug it from the power source.
- Open the DVR case using a screwdriver.
- Locate the SATA data cable and power cable inside the DVR.
- Connect these cables to the corresponding ports on the HDD.
- Secure the hard disk inside the DVR case using screws.
- Close the DVR casing and reconnect the power supply.
3. Format the Hard Disk via DVR
Before recording footage, the hard drive must be formatted to be recognized by the DVR. Here’s how to do it:
- Power on the DVR.
- Access the DVR Menu using the remote control or a connected mouse.
- Navigate to Storage Management or Disk Management.
- Select the installed hard disk and choose Format or Initialize.
- Wait for the process to complete. This usually takes a few minutes.
4. Configure Recording Settings
To ensure optimal use of your storage space, adjust the recording settings:
- Recording Mode: Choose between continuous recording, motion detection, or scheduled recording.
- Overwrite Settings: Enable auto-overwrite to replace old footage when the storage is full.
- Storage Status: Check the available space and remaining recording time in the menu.
5. Test the Setup
After installation and formatting, perform a quick test:
- Start recording a short video.
- Play it back to ensure the HDD is functioning correctly.
- Monitor for any error messages or warnings.
Final Thoughts
By following these steps, you can ensure that your CCTV DVR operates efficiently with a properly installed and formatted hard drive. A well-configured storage system ensures seamless recording and retrieval of security footage, keeping your premises secure at all times.
Need more security tips? Stay tuned for more guides on optimizing your CCTV system!
Leave a Reply